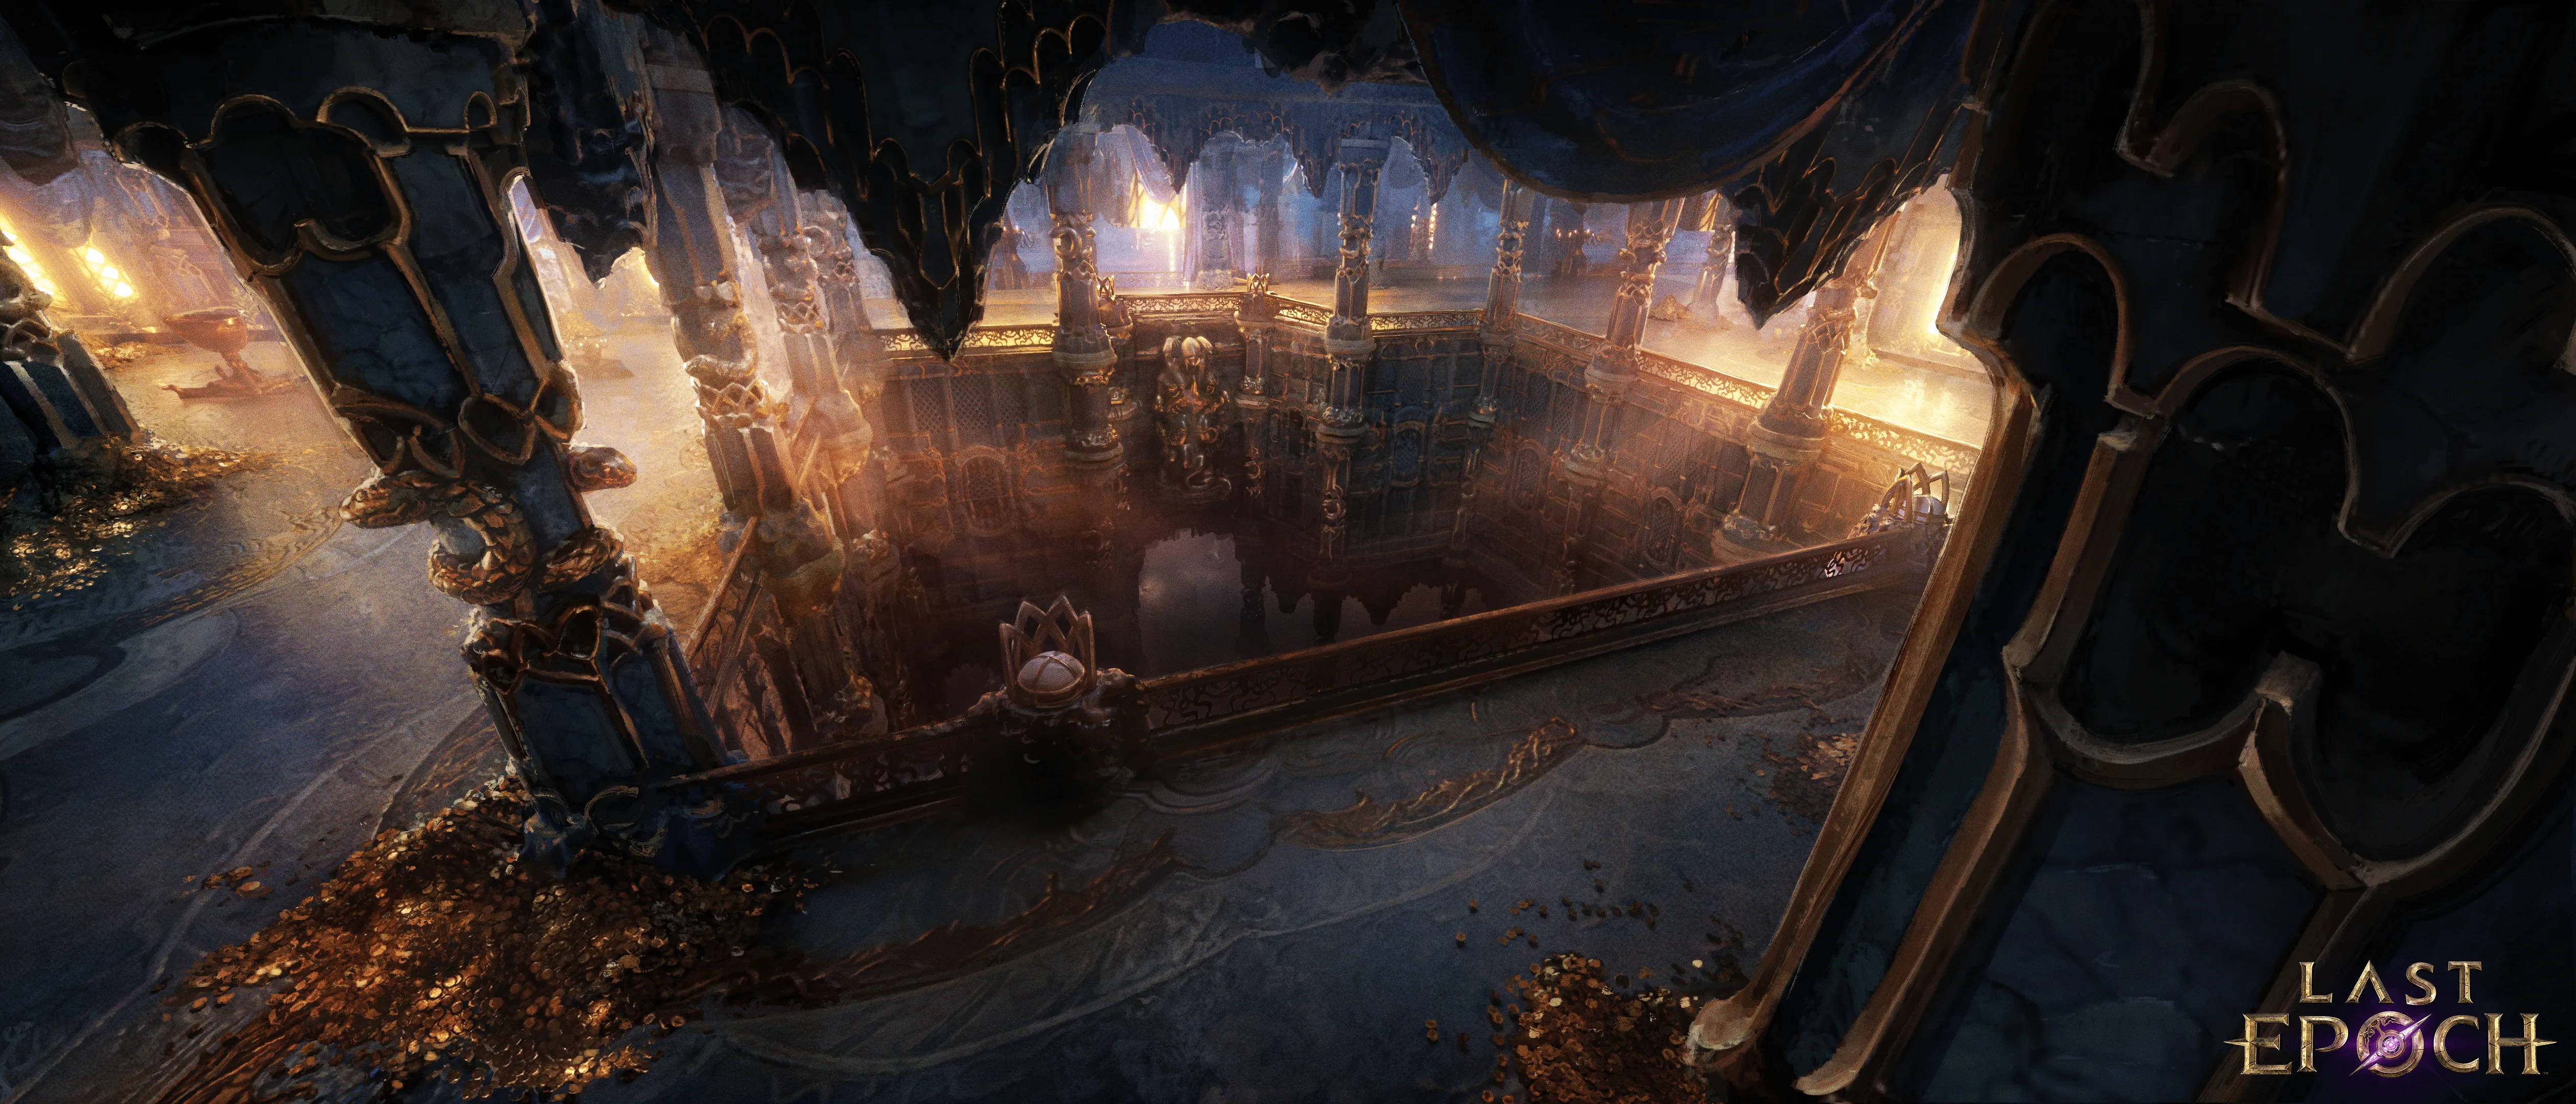
A Last Epoch Temporal Sanctum Key opens the Temporal Sanctum dungeon in the Ruined Coast. It can appear as a random drop, and Bag of Dungeon Keys is another listed source. To reach the entrance for the first time, go through the time rift behind the door in the eastern cliff face of The Shining Cove, then follow the Ruined Coast route to the dungeon.
Finding the key and unlocking the route are separate tasks. Right-clicking the key opens the map at Temporal Sanctum; it does not by itself complete the travel route or clear the dungeon. Before starting a run, choose a tier your character can handle and prepare the equipment needed for the crafting task you intend to complete afterward.
Confirm that you have the correct key
Inspect the full item name: Temporal Sanctum Key. Its tooltip names the Temporal Sanctum door in the Ruined Coast. Keep it separate from Arena keys, other dungeon keys and unusual key-class items that do not identify this destination.
The key's level-one requirement is an item requirement, not a recommendation that a level-one character should attempt the dungeon. Your build, movement tools, defenses and unlocked dungeon tier determine whether a run is practical. The tooltip alone cannot establish that the character is ready.
Right-click the key to locate Temporal Sanctum on the map. This is useful when the dungeon is unfamiliar or when several eras contain similarly named coastal areas. If the waypoint is unavailable, follow the access route rather than assuming the key is defective.
Check where the item is stored before traveling. An organized stash makes it easier to find the named key when you reach the entrance. Likewise, prepare the planned crafting materials before committing to the run so that successful access leads to the intended outcome rather than another inventory search.

Reach the entrance through The Shining Cove
The item description identifies a time rift behind a door in the eastern cliff face of The Shining Cove. That rift leads to the Ruined Coast. Use the full area name and the map rather than relying on a video narration's era label, especially when comparing older access guides.
The practical route is:
- Travel to The Shining Cove.
- Find the door in the eastern cliff face.
- Open the door and enter the time rift behind it.
- Continue through the Ruined Coast toward its southern route.
- Activate the available waypoint as you progress.
- Reach the Temporal Sanctum entrance and register its waypoint.
- Check the required key and available tier at the dungeon door.
The Ruined Coast route includes crossing the area and passing its coastal obstacles. If the map is unfamiliar, follow the exits and waypoint markers rather than repeatedly returning to the world map after every turn. The useful first-run objective is to establish the entrance waypoint, making later visits simpler.
Do not confuse seeing Temporal Sanctum on the map with having reached its entrance. The map view helps locate the destination, while the route and waypoint make it accessible. Keeping those actions separate resolves a common problem where a player has the key but cannot immediately travel to the dungeon.
Farm ordinary progression before forcing a key drop
Temporal Sanctum Key is listed as a random drop. For a character already progressing through Monoliths, continue clearing encounters and completing bosses while keeping the key as a secondary target. This lets the session advance equipment, experience and timeline progress even when the particular key does not appear.
Do not judge the drop system from a short run of empty results. A sequence without the desired key does not establish that the character is ineligible or that a specific boss is mandatory. Likewise, one player finding several keys in a high-difficulty session does not promise the same result for your build.
Rare enemies and bosses are sensible encounters to include in a key-oriented session, but avoid presenting older anecdotal drop restrictions as a complete current loot rule. Build a route that encounters useful enemies efficiently and can be repeated at the character's comfortable difficulty.
If raising Corruption makes the character die or greatly lengthens encounters, it may reduce practical progress even if the reward environment improves. The purpose of the farm is to acquire usable attempts while continuing to develop the character. A manageable route is better than a difficulty selected solely from another player's drop anecdote.
Keep the current equipment goal active during the session. Upgrading a weak weapon, improving recovery or finishing defenses can make the eventual dungeon attempt more useful. A key obtained on a character that cannot complete the planned tier does not solve the whole task.
Use listed alternatives without assuming guarantees
Bag of Dungeon Keys is another listed source for the item. If you already have access to one through normal play, it provides an additional route to consider. A bag that contains dungeon keys should not be treated as a promise of the particular key you need on every use.
Arena activity is another option players use when seeking dungeon keys, but it should be assessed as a secondary farm with variable outcomes. Do not turn a remembered one-to-one result into a guaranteed conversion rate. Compare the time and difficulty with the Monolith activity you could run instead.
For Merchant's Guild characters, ordinary drops and activity rewards remain relevant. A lack of Circle of Fortune Prophecies does not mean the dungeon is inaccessible. Choose the repeatable activity that fits the character's current build rather than switching factions solely because a short farming session was disappointing.
For Circle of Fortune, inspect the current reward conditions and lenses available to your setup. Season 5 uses Prophecy charges rather than the old reroll routine. Only spend resources on a compatible key-oriented reward if the condition and reward actually fit the goal; do not assume a generic item Prophecy will produce this named key.
Weaver Tree choices can complement the farm when they support the encounters and rewards you are already pursuing. Avoid spending points on an unrelated strategy merely because the tree contains many loot bonuses. The farming loop still needs to activate the chosen effects consistently.
Decide why you are entering Temporal Sanctum
Many players seek the key because Temporal Sanctum is part of legendary crafting. That makes the run a means to an equipment outcome rather than simply a door-opening task. Identify the unique and exalted donor you plan to use before spending time farming access.
The unique needs Legendary Potential for the usual crafting route, and the donor must meet the crafting eligibility requirements. A key does not fix an incompatible item type or add the missing potential. If the materials are not ready, continue collecting them while accumulating keys through ordinary progression.
Current crafting at Temporal Sanctum tier two and above allows you to specify one transferred affix. That makes the planned dungeon tier relevant to the equipment goal. Do not choose the easiest tier automatically when the reason for the run depends on that higher-tier crafting option.
At the same time, do not attempt a tier the character cannot complete merely to reach the desired option. Preparing the build can be more efficient than farming repeated access for unsuccessful runs. Keep the intended affix and donor clear so that an upgrade to the character serves a concrete crafting objective.
The key is the access item; the dungeon tier and materials determine the useful destination of the run. Treat all three as part of the same preparation rather than stopping the plan as soon as the key drops.
Check the character before committing to a run
Review defenses, recovery and movement. A build that clears packs quickly can still struggle with a boss that demands positioning and longer single-target damage. The key's availability is not a combat readiness check.
Inspect skill specializations after any recent respec. A newly switched build may have the correct skills on the action bar but insufficient levels or missing nodes for its intended defensive loop. Use manageable content to restore the functioning configuration before starting a dungeon attempt.
Check the equipment you intend to use in combat separately from the materials intended for crafting. Keep the character's functional gear equipped and the donor plan organized. A donor with an excellent affix may not be the item you should wear during the run if it disrupts the build's defenses or resource engine.
Do not base the decision on a universal level threshold from an older guide. Character level helps progression, but item interactions, skill setup and player familiarity matter too. Start from the available dungeon tiers and a clear understanding of what the chosen tier requires from your build.
For a first visit, the access route itself is a useful achievement. Register the waypoint and inspect the door even if you decide the actual run should wait. That removes the navigation problem without forcing an underprepared combat attempt.
Troubleshoot missing access and disappointing farms
If right-clicking the key opens the map but you cannot travel directly, check whether the entrance waypoint has been activated. Follow the Shining Cove time-rift route when necessary. Repeatedly right-clicking the key does not replace discovering the route.
If the dungeon door does not accept the item, verify its exact name. Another key or a similarly categorized object may be in the inventory. Read the door's requirement and the item tooltip together before assuming an interface fault.
If no key appears during a farming session, inspect the encounters you are actually completing. A route that skips most enemies and rarely finishes bosses may provide a different reward opportunity from the route described by another player. Improve the repeatable loop without inventing a guaranteed drop count.
If keys appear but runs are unsuccessful, separate access from combat. More keys provide more opportunities, but they do not repair a missing defensive layer, a resource stall or an unfamiliar boss attack. Make the next attempt better prepared instead of simply repeating the same failure.
If the run succeeds but the crafting option does not match your goal, check the tier and material eligibility. The key opened the dungeon correctly; the problem may be the equipment plan. Verify that plan before farming the next key so that additional access solves the right task.
Keep a useful reserve without hoarding blindly
Keeping spare Temporal Sanctum Keys is reasonable when you regularly craft legendaries or are learning the dungeon. Organize them with the related activity materials so you can recognize the reserve without searching several tabs.
Do not assign a fixed required stash quantity without a purpose. The useful reserve depends on the number of prepared crafting projects and the character's ability to complete the chosen tier. A large pile of keys is less valuable than one successful run with eligible materials and a clear transfer goal.
Avoid making plans that assume a failed run returns the same access item or allows unlimited retries. Read the entrance and run state when committing to an attempt, and keep additional keys available when another entry may be needed. A reserve is preparation, not proof of a particular refund or retry rule.
Once the route is unlocked and a workable key farm is established, return attention to the crafting result. Prepare the right unique, improve the donor, choose the required tier and preserve the character's combat setup. That turns a random access drop into progress toward the equipment upgrade you actually wanted.