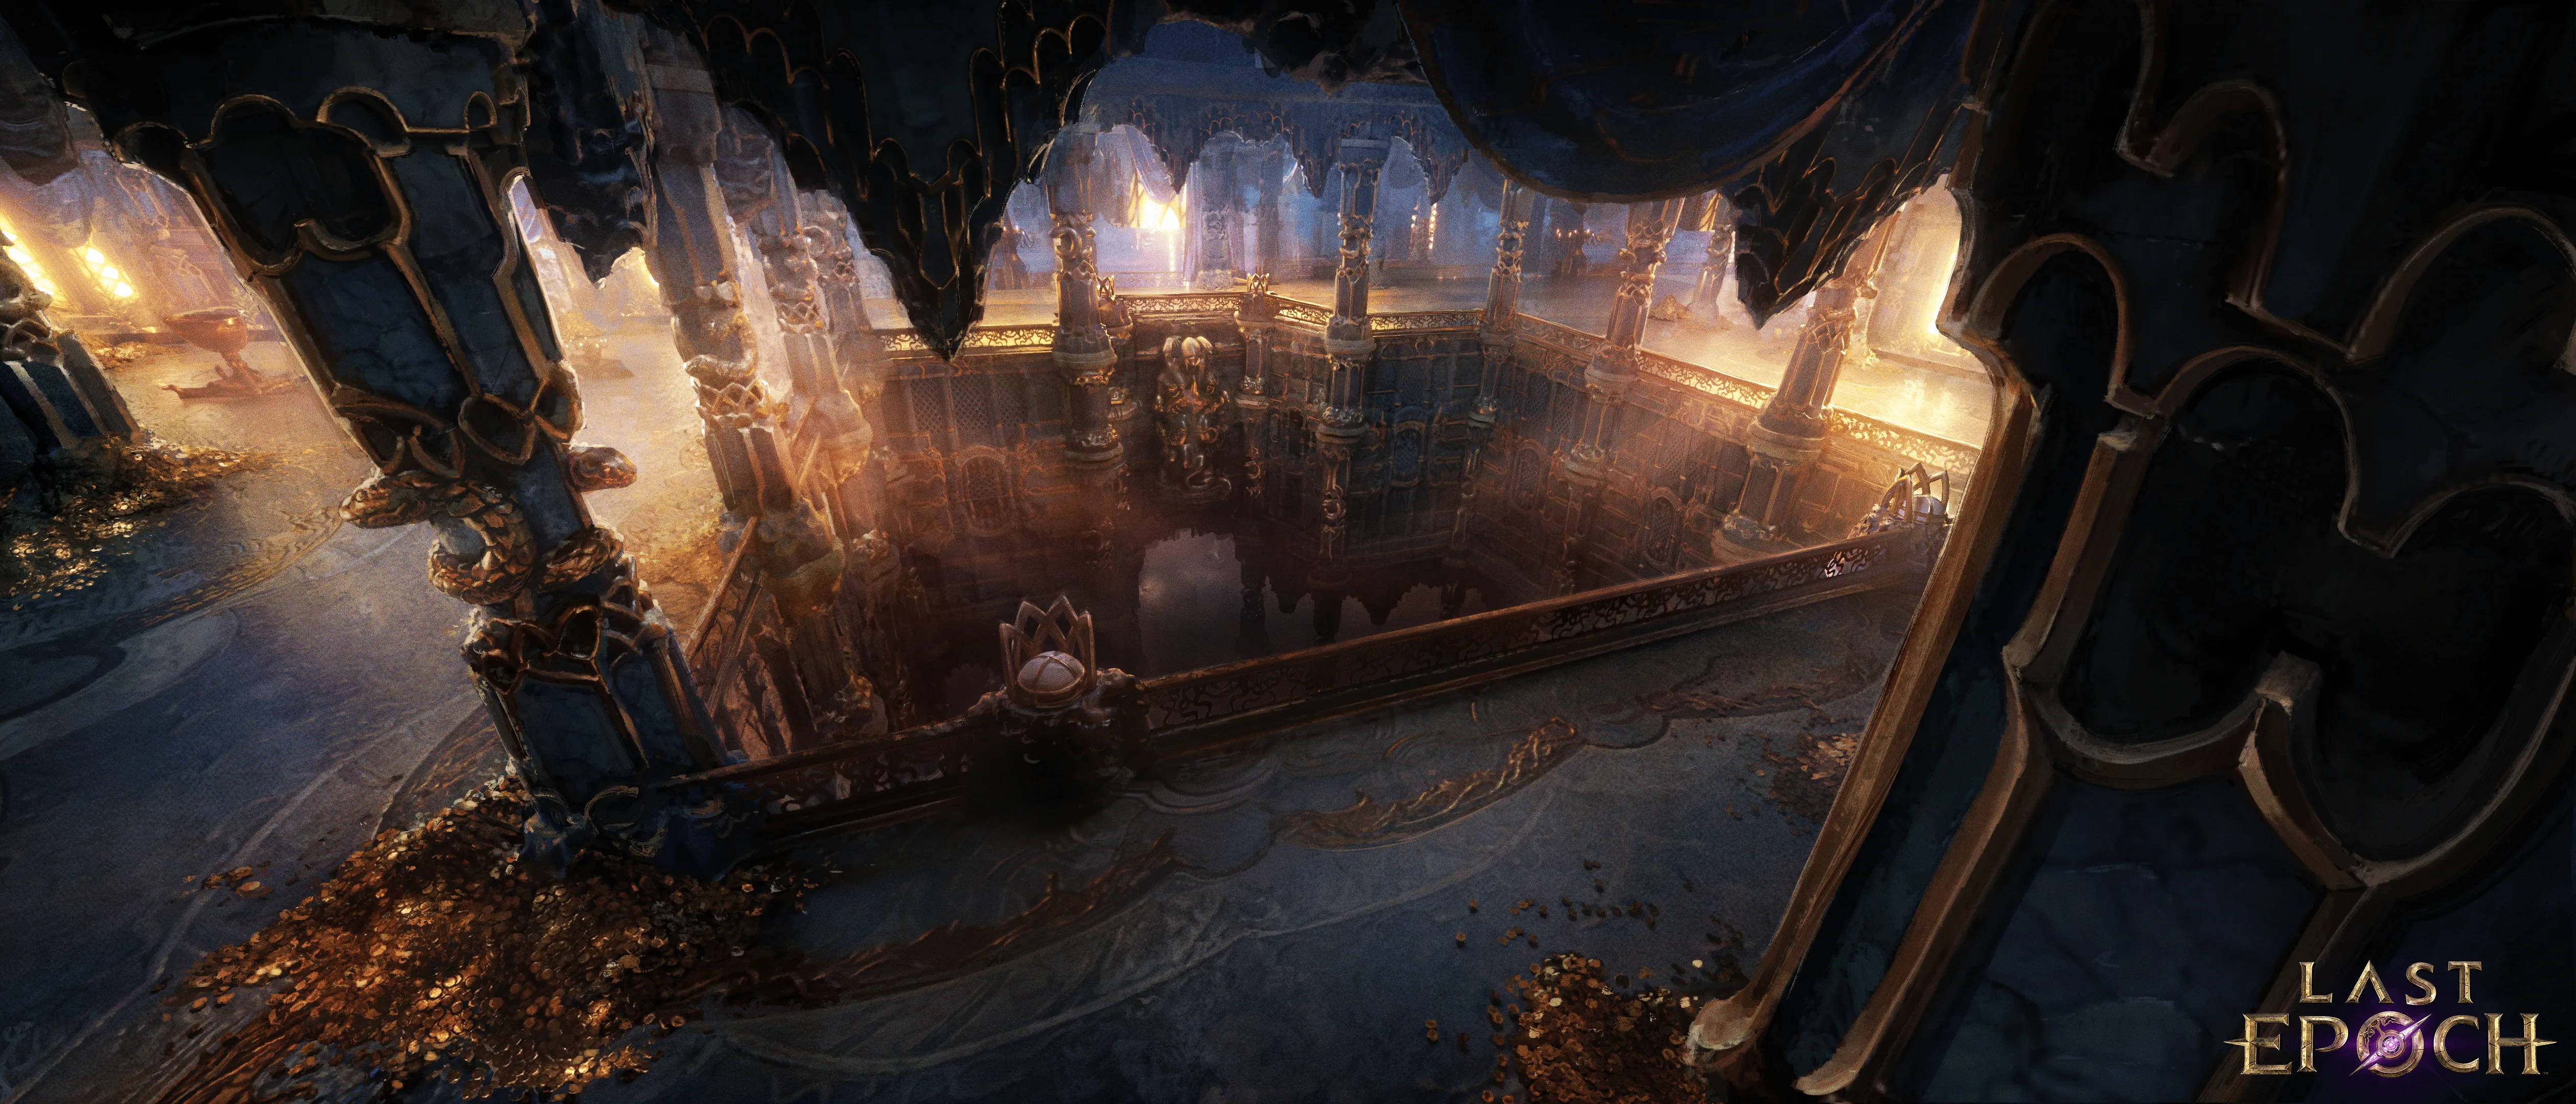
This Season 5 Last Epoch Bladedancer build uses Bladestorm to generate repeated Shurikens while Dancing Strikes keeps you moving through enemies. Smoke Bomb supplies important offensive and defensive buffs, Shift provides repositioning and mana recovery, and manually cast Shurikens add burst damage when needed. The result is a fast, close-range mapper with strong single-target potential.
Start with the full-life version. It can function with ordinary rare or exalted equipment once you solve throwing mana costs and basic defenses. Do not switch to the low-life version simply because you found one related unique: that setup requires Architects of Astral Blood and supporting ward generation to work properly. The configuration described here is for Season 5 on version 1.5.2.1.
Use one physical Shurikens configuration
This page follows LizardIRL's physical Shurikens Bladestorm, not ActionRPG's cold Bladestorm / Umbral Blades configuration. The Starting / Endgame / Aspirational planner contains the complete connecting points, gear-granted skill levels, equipment and idol layout. Select Starting Gear while your character is still full life.
| Stage | Required setup | What to postpone |
|---|---|---|
| Campaign | A functional Rogue leveling attack and ordinary crafted defenses | The guide assumes level 80 for its finished tree; do not copy equipment-enhanced point totals onto a new skill |
| Full-life starter | Sustainable throwing mana costs, Twin Blade when dual wielding, health, resistance and crit protection | Architects of Astral Blood and missing-health ward are not starter requirements |
| Low-life endgame | Architects of Astral Blood plus supporting missing-health ward, including the author's Experimental affix on Li'raka's Claws | Do not convert merely because one ward item dropped |
| Aspirational | Red Ring of Atlaria only when its 180-total-attribute condition is met | Luxury rings with inactive defensive conditions can be worse than transitional rings |
Stage, unique requirements and attribute condition source. These are creator-defined setups; this site has not game-tested their corruption ceiling.
Core nodes and the role they must perform
| Tree | Node / interaction | Reproduction check |
|---|---|---|
| Bladestorm | Shuriken Storm | Storms must generate Shuriken Blade Shields; a cold or bleed storm tree does not reproduce this package |
| Dancing Strikes | Windmill Ballet | Your movement attacks add Shurikens; aim close during bosses so the shields connect |
| Shurikens | Blade Shield configuration in the selected planner | Its point total varies with skill-level equipment; use the starter allocation before gaining those levels |
| Smoke Bomb / Shift | Maintain the cloud's buffs and Shift's recovery configuration | Smoke Bomb is a combat zone, while Shift corrects danger or mana |
| Rogue passive | Twin Blade | Dual wielding must be enabled before equipping the second weapon |
| Bladedancer passives | All In, Death's Door in the matching variant | Reliable critical strikes are needed for All In; Death's Door belongs to the complete low-life package |
Interaction and passive source. The scraped tree included unnamed numerical cells and even a negative unspent-point display; those cells are not a reliable name-to-point mapping. Use the linked planner for the complete allocation rather than copying a guessed table.
Named blessings and idol targets
The displayed endgame variant uses Grand Emptiness of Ash, Grand Light of the Moon, Grand Resolve of Humanity, Grand Bulwark of the Tundra and Grand Body of Obsidian. Its layout uses a Pyramidal Altar, a Minor Weaver Idol, Heretical Grand Majasan Idols, a Heretical Large Shadow Idol and a Large Umbral Omen Idol. These are the authored layout, not proof that every offensive roll is needed before the full-life transition. Planner equipment reference.
For affordable replacements, keep health armor before the low-life conversion, use a defensive rare amulet or Pearls of the Swine before Omnis, and use Oceareon / Heirloom of the Last Nomad before Red Rings. Prioritize the off-hand Traitor's Tongue critical-chance roll when using that weapon; the item name alone does not mean the build is critical-capped.
Build strengths, limitations, and requirements
| Area | What to expect |
|---|---|
| Mapping | Very fast once Bladestorm and Dancing Strikes are established |
| Boss damage | Strong when the generated Blade Shields remain close enough to connect |
| Range | Mostly close range despite using throwing attacks |
| Starter requirement | Rings that make repeated throwing attacks sustainable |
| Full-life gear | Flexible; prioritize health, resistances, critical-strike protection, and mana stability |
| Low-life gear | Requires Architects of Astral Blood plus reliable ward generation |
| Main mechanical risk | Leaving Smoke Bomb, outranging your Blade Shields, or exhausting mana |
This is an endgame setup rather than a level-one skill plan. One current guide assumes a level 80 character before copying its finished configuration. While leveling, use whatever reliable Rogue setup carries you comfortably, then move into Shurikens Bladestorm after you have the required skills, enough specialization points, and rings that prevent the throwing component from draining your mana immediately.
How the Shurikens Bladestorm setup works
Bladestorm is the engine. The important interaction is Shuriken Storm, which lets Bladestorm generate Shuriken Blade Shields. Instead of stopping to throw every Shuriken yourself, you place Bladestorm and let it maintain another layer of damage around you. Dancing Strikes then moves you through packs while Windmill Ballet supplies additional Shurikens.
The build rewards close positioning. Bladestorm itself cannot stack multiple overlapping hits on one boss in the way players sometimes expect, but the Shurikens created by it can connect repeatedly. Staying near the target allows more of those Blade Shields to hit. Moving too far away may feel safer, but it also removes a large part of your single-target output.
Smoke Bomb is the build's safe fighting area. Use it for its buffs and remain inside the cloud whenever the encounter permits. Shift is both an escape tool and a way to recover mana, so it should solve a specific positioning or resource problem rather than being pressed without a reason. Manual Shurikens are useful before a boss becomes active and whenever a short burst window justifies the extra casts.
Skill bar and each skill's job
| Skill | Primary job | Practical rule |
|---|---|---|
| Bladestorm | Creates the persistent storm and Shuriken Blade Shields | Recast when the storm expires or needs to be moved onto a new target |
| Dancing Strikes | Main movement-through-combat action and another source of Shurikens | Use continuously while clearing, but control your cursor during stationary fights |
| Shurikens | Direct burst and the damage package supported by the build | Precast before a boss activates when the encounter allows it |
| Smoke Bomb | Offensive buffs, defensive buffs, and safer close-range uptime | Keep the important fight inside the cloud whenever possible |
| Shift | Repositioning and mana recovery | Save it for danger, target changes, or a low-mana correction |
Prioritize the nodes that create the build's actual interactions before taking generic damage. Bladestorm needs the route that produces Shuriken Blade Shields, and Dancing Strikes needs its Shuriken interaction. After those functions are online, invest in the damage, attack speed, physical or throwing support, and defensive effects that serve this exact setup.
Avoid allocating a collection of individually attractive nodes that support different damage plans. Cold conversion, bleed variants, Shadow Cascade packages, and Dreamslash can each lead to valid builds, but combining fragments of all of them weakens the identity of this one. For this physical Shurikens Bladestorm configuration, Bladestorm creates Shurikens, Dancing Strikes keeps the character active, and the remaining skills protect that loop.
Passive priorities
The Rogue passive tree must include Twin Blade before you attempt to dual wield. Treat it as a functional requirement, not an optional damage node. Build outward from there with Dexterity, critical-strike support, attack speed, and the available defensive nodes.
For the Bladedancer tree, favor passives that reinforce movement, Shrouds, glancing blows, close-range survival, and reliable critical strikes. All In is attractive only after your critical-strike chance is sufficiently dependable; its downside is not something to ignore during early gearing. The finished low-life version also benefits from Death's Door, but that does not make Death's Door a reason to convert an unfinished full-life character prematurely.
A practical order is:
- Unlock the skills and dual-wielding function the build requires.
- Take enough defense to survive ordinary Monolith mistakes.
- Establish consistent critical strikes instead of chasing only critical multiplier.
- Add attack speed and Dexterity where they improve the whole skill package.
- Take low-life-specific defenses only when the low-life equipment package is ready.
Silver Shroud is particularly valuable because its next-hit dodge gives you protection against a dangerous hit. Watch its stacks instead of treating every defensive buff as invisible background power. It cannot replace resistance caps, health or ward, and positioning, but it can explain why an otherwise threatening hit missed.
Full-life gear progression
The full-life version is the correct starting point because it does not require a complete unique-item package. Your first objective is a character that can maintain the rotation without running out of mana or dying when Dancing Strikes brings you close to enemies.
Prioritize gear in this order:
- Obtain ring affixes that reduce the mana cost of throwing attacks. The repeated Shurikens make this a functional requirement.
- Cap the resistances your current equipment leaves exposed.
- Add maximum health and hybrid health across suitable slots.
- Solve critical-strike protection rather than assuming movement will prevent every large hit.
- Add throwing damage, Dexterity, critical-strike chance, critical multiplier, and attack speed after the build is stable.
- Improve skill ranks and offensive uniques only when the replacement does not reopen a defensive or mana problem.
A regular amulet with strong resistances is a valid bridge before Omnis. Woven Flesh can help solve critical-strike avoidance, but a well-rolled high-health body armor remains usable. Do not equip an item merely because it appears in an aspirational list; compare what the swap removes as well as what it adds.
Traitor's Tongue is the preferred off-hand direction described for this setup. Its critical-strike-chance roll matters, so a poor roll is not equivalent to a strong one. Peak of the Mountain can work with it to make reaching the critical-strike cap easier.

Traitor's Tongue is one of the unique weapons used by this Bladestorm setup.
Li'raka's Claws is a major throwing-damage option. For the low-life path, the particularly valuable version also carries the Experimental ward-per-missing-health affix, linking its offense to the ward package the build needs.
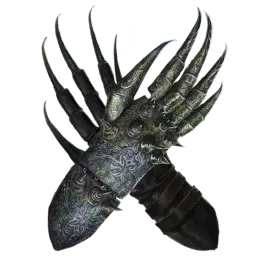
Li'raka's Claws item icon; use the current item tooltip for its affixes.
When to switch to low life
Do not switch until Architects of Astral Blood is equipped and your supporting pieces can generate and maintain useful ward. The chest is the required foundation of this variant. Stacking health improves its defensive value, while the missing-health ward effect on Li'raka's Claws helps turn the low-life state into actual protection.
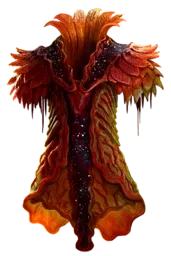
Architects of Astral Blood item icon; compare the current modifiers with your build.
Use this checklist before converting:
- Architects of Astral Blood is equipped, not merely stored for a future craft.
- Li'raka's Claws has the ward-per-missing-health support the setup expects.
- Your health investment remains substantial enough to support the chest's defense.
- Resistances remain covered after replacing the full-life equipment.
- Critical-strike chance is reliable enough for the passive choices built around it.
- You understand that this low-life setup cannot rely on ordinary health leech in the same way as a full-life version.
After the foundation is complete, Omnis can cover difficult resistances while adding a skill rank. Pearls of the Swine can serve before Omnis. Twisted Heart of Uhkeiros is used as a stat-oriented relic option, with a later aspirational alternative available after the relevant pinnacle progression. Oceareon or Heirloom of the Last Nomad can occupy ring slots before Red Ring of Atlaria.
Red Ring of Atlaria is not automatically active at full value just because it is equipped. The documented setup targets 180 total attributes for its damage-reduction condition. If you cannot reach that requirement, retain the transitional rings or replace some legendary throwing-damage investment with Dexterity rather than pretending the defensive effect is online.
Mapping rotation
The mapping loop should remain simple:
- Place Bladestorm where it can begin seeking and damaging the next group.
- Enter with Dancing Strikes, generating more Shurikens as you move.
- Use Smoke Bomb when a durable group, event, or dangerous modifier warrants its buffs.
- Shift out of a telegraph, toward the next target, or when you need its mana recovery.
- Recast Bladestorm only when the existing storm expires or is no longer positioned usefully.
Do not flood the ground with unnecessary casts if one maintained Bladestorm can perform the job. Excess casting consumes attention and resources without fixing poor positioning. The build feels fastest when Bladestorm is working ahead of you and Dancing Strikes carries you through the remaining enemies.
For arena-style encounters or Rage of Morditas combat areas, Smoke Bomb becomes more important because you spend longer fighting in one space. Establish the cloud where you can attack while still reacting to enemy indicators. If the battlefield forces you out, survive first and restore the setup after the dangerous effect ends.
Boss rotation and positioning
Prepare before the boss becomes targetable when the encounter allows it. Place Smoke Bomb, build the available buffs and Shadows, and manually precast Shurikens for initial burst. Once the boss activates, place Bladestorm and remain close enough for its generated Blade Shields to connect.
Your repeatable boss loop is:
- Keep Smoke Bomb active and fight inside it whenever the mechanics permit.
- Maintain Bladestorm on the boss rather than leaving it behind after a reposition.
- Use Dancing Strikes for damage and movement. Place the cursor on your character when you need to attack without traveling away from the target.
- Watch Silver Shroud and major enemy telegraphs rather than assuming your buffs make you invulnerable.
- Use Shift to escape a lethal area or correct mana, then return to effective Blade Shield range.
- Add manual Shurikens during safe burst windows instead of interrupting every movement decision to cast them.
The main damage loss is usually positional. If Bladestorm is active but the boss health barely moves, check whether the generated Shurikens are actually reaching the target. If mana repeatedly reaches zero, correct throwing mana costs and use Shift's recovery instead of adding more damage affixes.
Troubleshooting common failures
The build constantly runs out of mana
Inspect both rings first. Throwing mana-cost support is more important than another attractive damage roll when Shurikens prevent the rotation from continuing. Stop recasting Bladestorm unnecessarily, and use Shift deliberately for mana recovery. The storm cannot maintain its Shuriken output if your resource loop collapses.
Mapping is fast but bosses feel weak
Stay closer. The Shurikens produced by Bladestorm need to connect, and the build loses damage when you circle too far from the target. Keep Smoke Bomb positioned on the fight, precast Shurikens before activation, and avoid moving your maintained Bladestorm away from the boss.
The character dies while damage looks good
Return to the full-life checklist: capped resistances, maximum health, critical-strike protection, and reliable Smoke Bomb uptime. A high tooltip does not compensate for missing defensive layers. If you recently changed to low life, verify that Architects of Astral Blood and ward-per-missing-health support are both present; otherwise, revert until the package is complete.
Critical strikes are inconsistent
Check the critical-strike roll on the off-hand Traitor's Tongue and the support supplied by Peak of the Mountain. Do not lean on All In as though the build were critical-capped when it is not. Fix base consistency before adding more critical multiplier.
Dancing Strikes moves you out of position
For stationary damage, keep the cursor on or very near your character. During mapping, aim through the pack so the movement remains useful. Treat Dancing Strikes as controlled movement, not an automatic button that decides your position for you.
Final upgrade order
Once the full-life version clears comfortably, upgrade one constraint at a time. First stabilize mana, then defenses, then critical consistency, and finally damage. Improve Traitor's Tongue and Li'raka's Claws before spending heavily on luxury pieces that do not repair a current weakness. Add Omnis when its resistance coverage and skill rank represent a real improvement.
Move to Architects of Astral Blood only when the whole low-life package is ready. Afterward, increase health and ward support, work toward the 180-attribute Red Ring condition if using those rings, and preserve resistance coverage through every legendary replacement. This order keeps the Shurikens Bladestorm engine playable throughout progression instead of turning an effective full-life character into an incomplete aspirational setup.
Related guides
Evidence and references
This guide is a source-checked configuration reference, last reviewed on October 11, 2026. The linked creator defines the equipment and allocation; this site has not performed a game test, DPS benchmark or corruption-ceiling test. Planner values can change after publication.
- Creator configuration
- Official 1.5.2.1 hotfix: fixes Dreamslash behavior and Tide Elemental visual effects; it does not publish a new performance benchmark for this build.